
(To see images in larger versions, just click on the image)
Symmetry and Asymmetrical Balance: Phil talks in his seminar about this concept of asymmetrical balance. Let's review. Symmetry means that we basically have a mirror image on one side of the page of the other when folded down the center. In photography, we can have a mirror image, or elements of equal size, shape, or weight that create this symmetry without it being a true mirror image. This creates balance in a photo, but unless composed very well, can be very boring. So, how are photos balanced when asymmetrical since this naturally creates a more interesting photograph? Basically, the concept is that the main interest in your photograph has a counterpart in another area of the photo, either opposite corners, opposite sides, foreground/background, etc, that keeps your interest. It could be as simple as a photo of the sun rising (or setting if you're Phil since he's never shot a sunrise) with the sun on the horizon towards the upper right background, and a small fisherman in a rowboat in the lower left foreground. It's not symmetrical, but it's balanced.
The Rule of Thirds: Here is a diagram of the rule of thirds. I

Imagine this grid superimposed on your viewfinder frame. The rule of thirds basically states that when composing your photograph, place your subject on one of the lines, either horizontally or vertically, or the point of intersection of two lines. Generally, the photo will be more interesting when composed this way than if you place your image smack dab in the middle. Think of a sunrise/sunset again, with the horizon set in the dead center of the photograph. It creates a static feeling-- equal room above and below, and your imagination does little with the image. But put the horizon on the 1/3 line from the bottom, show more of the sky, and all of a sudden, your emotions are in the photo and you see more beauty and can imagine yourself standing in front of the expanse of the sky.
Here's another example of a couple photos off my iPhone from last fall.


This photo was taken by a friend who is a self-proclaimed non-artist and has never studied composition or photography. Note the difference in the positioning of the subjects and which picture is more interesting to you to look at.
Also, note the concept of asymmetrical balance in the first picture. The balloon arch at the starting line gives the photo balance and gives interest to the background, but it is in no way, symmetrical.
Depth of Field (DOF): "Oh, yeah, I remember Phil talking about something about a big field.... wait, no, that's not quite it..." Depth of field.... easy concept, difficult to create sometimes. What is depth of field? Basically, it's what's in focus in your photograph. Think of your photograph as a 3-d image with foreground, midground, and background. Even though it's a flat image, it's of a 3-d structure/subject and therefore, has depth. So, something with a large DOF will have most if not everything in focus, from foreground to background. Think of Ansel Adams where everything was in focus, from the land in the foreground to the moon in the background. It's all in focus, and therefore, has a large DOF.

Now, if that's a large DOF, then a shallow DOF must be that very little is in focus. This can be the foreground in focus and the rest out of focus, the midground in focus and foreground/background out of focus, or the background in focus and fore/mid ground out of focus. Here's an example of shallow DOF, a sample you'll all remember well.

How to create DOF is another lesson in and of itself, but a quick refresher is that you use your Aperature to create DOF. Aperature controls the size of the opening of the ring in the lens letting in light. A large number creates a small DOF and a small number creates a large DOF. If you set your aperture to f2.8 or f4 or f5.6, your DOF will be shallow. f8 and f11 will be more midrange, while f16, f22, f32, f64 (like Ansel Adams) will give increasingly deeeeeeeep DOFs. Focal length of your lens as well as distance from your subject will play a role in DOF as well. A longer focal length (being zoomed in) gives shallower DOF while a wide angle (zoomed "out") gives more DOF. Also, being close to your subject will naturally give a shallower DOF while being far away will give a larger DOF. Crazy enough, the aperture was exactly the same in my photo of Peter as it was in the photo of the spoon (f7.1), and my focal lengths were close (180mm with Peter and 200mm for the spoon). What's the difference then? Distance to subject! I was 2 feet away from the spoon, and 200 feet away from Peter. Confused yet? Just practice, and it'll start to make sense. Remember the Aperature priority setting on your camera? This will allow you to set your aperature and your camera will figure out your shutter speed to create the right exposure.
If you're not tired from reading yet or overwhelmed (hopefully it's more review/reminders than new concepts), let me continue for just a bit longer.
Point of View: this is simple compared to DOF! Point of view means are you taking your photograph at the same level as your subject, from below, or from above. Depending on your subject, POV will be different in making an effective photograph. Consider these snapshots of my puppy when he was just a wee thing.


But when is being on the same level boring? Consider how being below or above a subject can add emphasis or remove emphasis from something. Think of a photo of someone with you standing on a ladder looking down at them? They appear smaller, shorter, less intimidating. When you are lying down, looking up at them, the appear larger than life and more dominating. Use POV to your advantage when composing. Remember usually in portraits (people, kids, animals) you want to be on the same level as their eyes. Sometimes, though it works to your advantage to be up or down. Play around with this concept by taking photos of the same subject from three different angles- above, below, and at the same level.
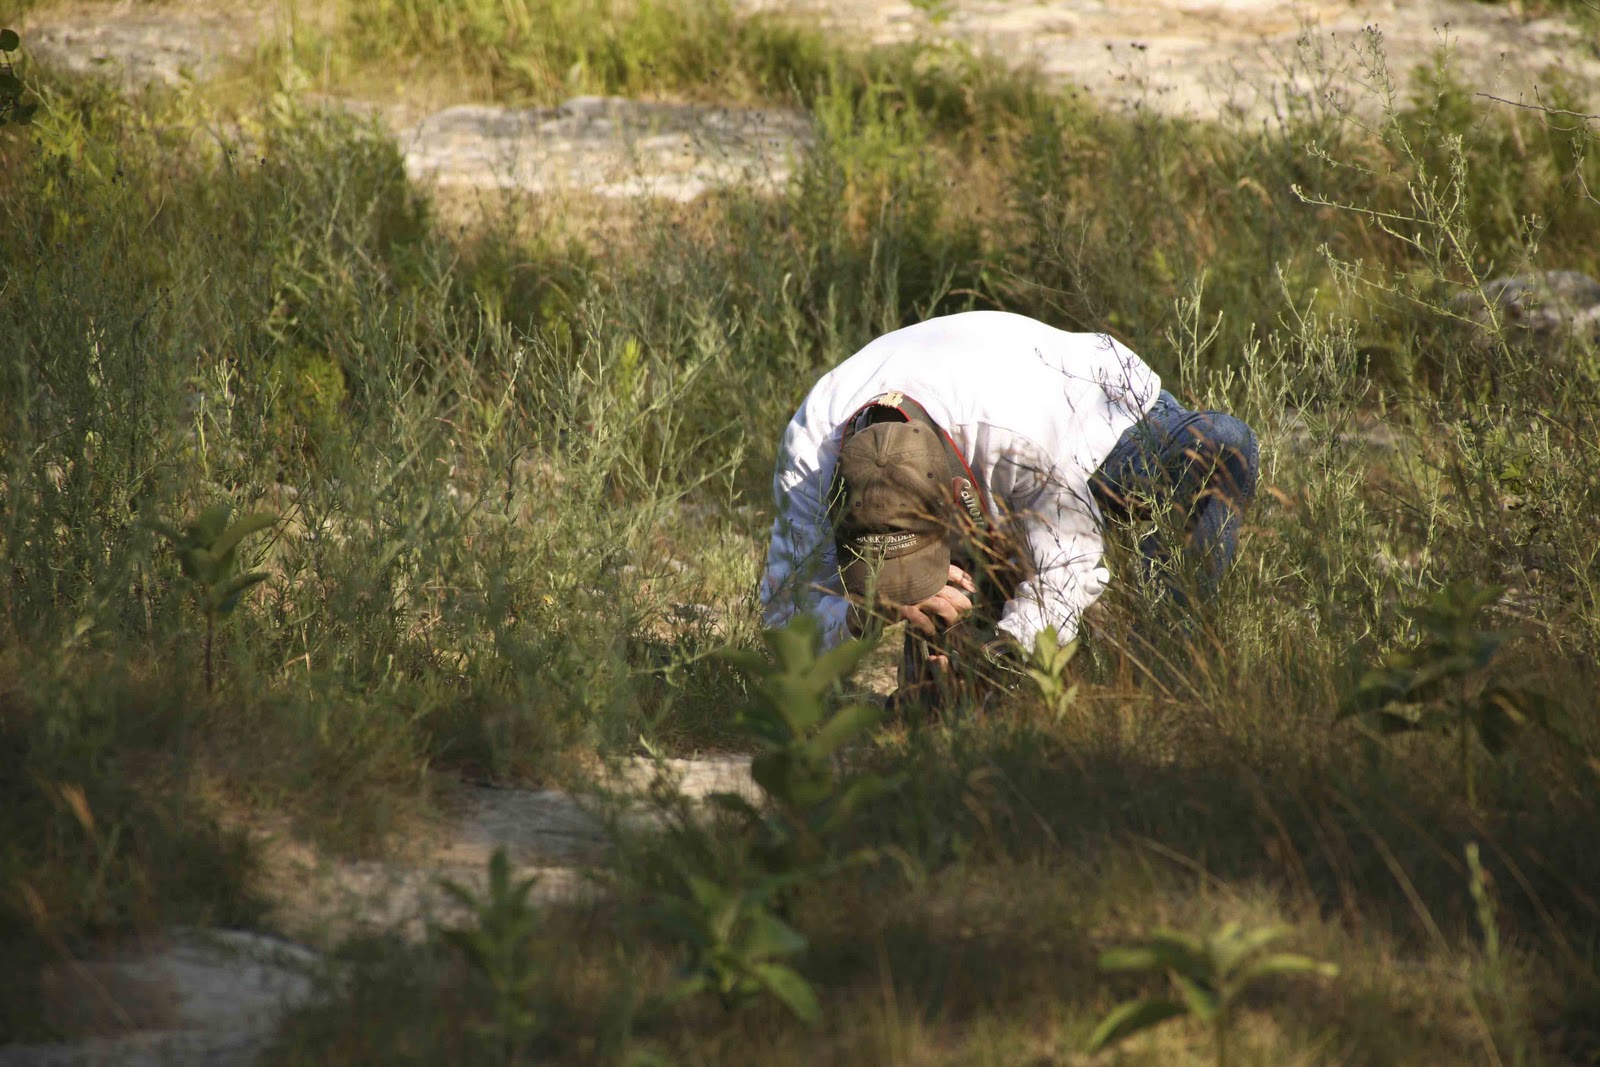
I think this is enough for today. Here's the link to the cave photos again if you want to look at how the photographer uses some of these concepts in creating moving images of the caves.
Conquering an Infinite Cave...
No comments:
Post a Comment